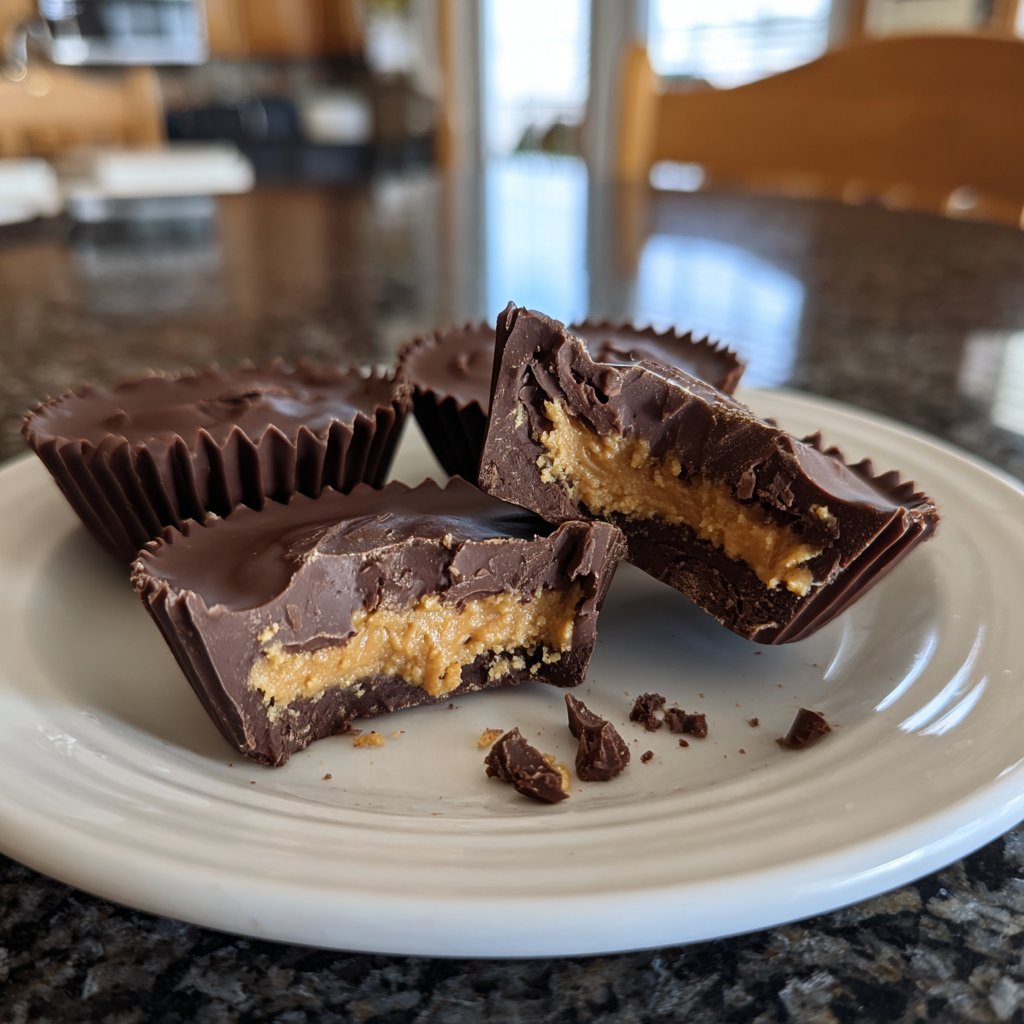
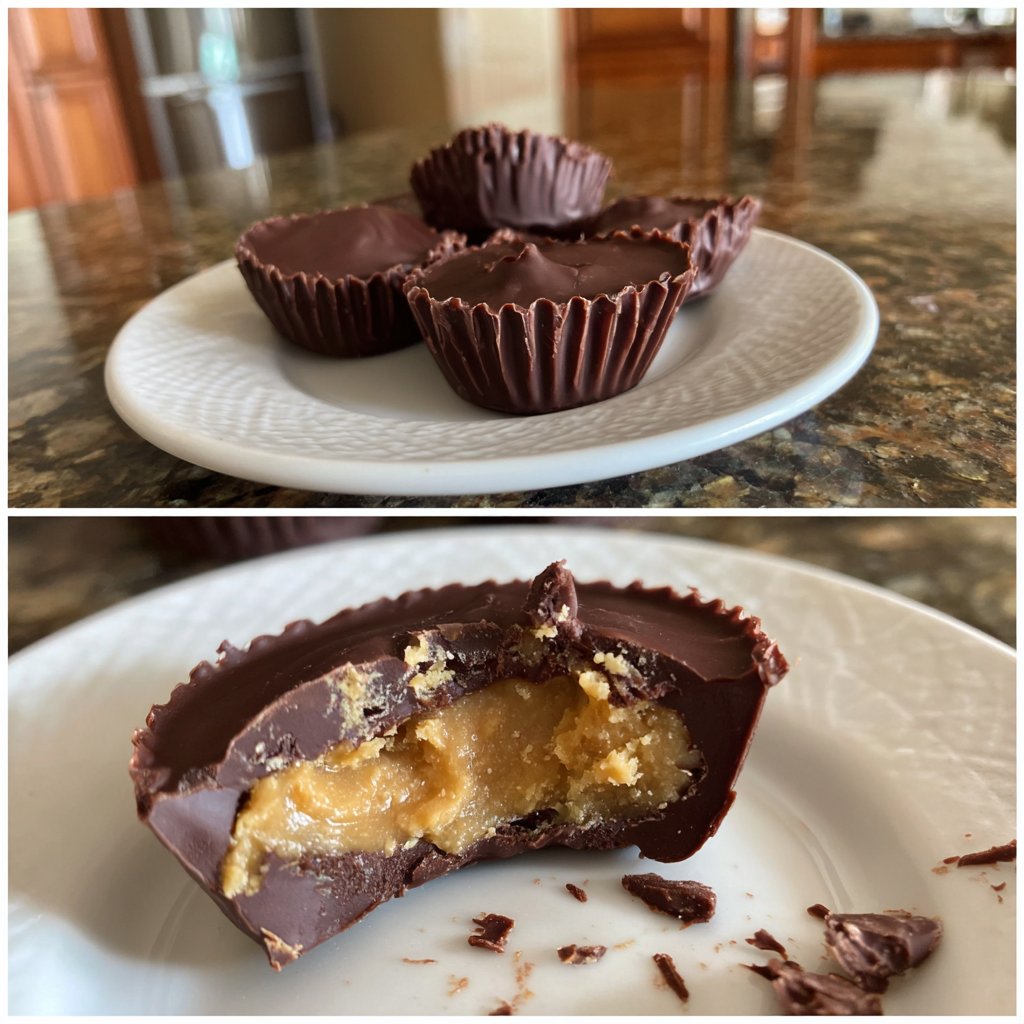
Homemade Reese’s Cups Mini Bites
Highlighted under: Wholesome Sweet Bakes
I absolutely love making homemade treats, and these Homemade Reese’s Cups Mini Bites are among my favorites. The combination of creamy peanut butter and rich chocolate creates a deliciously indulgent snack perfect for any occasion. With just a few simple ingredients and minimal effort, I can whip up a batch that disappears in no time. Whether it's for movie night, a party, or just a sweet craving, these mini bites are sure to delight everyone who tries them!
When I first made these mini bites, I wanted to recreate the beloved Reese's Cups with a homemade twist. After experimenting with different ratios of peanut butter to chocolate, I discovered the perfect balance that kept the filling rich and creamy while the chocolate added just the right amount of sweetness. My loved ones couldn't get enough, and I knew I was onto something special!
One detail that makes a huge difference is using a mixture of milk and semi-sweet chocolate. This blend melts perfectly and provides a nice contrast to the peanut butter. The result? A smooth, delicious treat that has quickly become a household favorite, and I know you’ll love them just as much!
Why You'll Love This Recipe
- Rich peanut butter flavor with a chocolatey shell
- Perfectly portioned mini size for easy snacking
- Simple and quick to whip up at home
Crafting the Perfect Peanut Butter Filling
The peanut butter filling is the heart of these mini bites, and choosing the right peanut butter makes all the difference. For a creamier texture, I recommend using a high-quality creamy peanut butter without added sugar or oils. Natural varieties work well too, but they can be a bit thinner. If you prefer a chunkier variation, consider stirring in chopped nuts for added texture. The powdered sugar not only adds sweetness but also helps bind the mixture, creating a scoopable consistency that holds its shape.
Mixing the filling is straightforward, but be sure to combine the ingredients until smooth to avoid any lumps. This step is crucial as it ensures that every bite of your mini cups has that luxurious peanut butter experience. I usually use a handheld mixer for speed and effectiveness, but a sturdy spatula will work too. If your mixture turns out too dry, just a splash of milk can help loosen it up and keep it creamy.
Melting Chocolate to Perfection
When melting chocolate, the technique you use can significantly affect the final texture. A microwave works well, but it's important to be cautious with the heat settings. Start with 50% power to prevent scorching, and ensure you stir thoroughly during each interval to maintain an even melting process. This will help achieve that shiny, glossy finish that's appealing and signifies properly melted chocolate.
If you ever find your chocolate clumping or seizing, it's often due to moisture or overheating. In such cases, adding a small amount of vegetable oil or coconut oil can help smooth it back out. I also recommend using a high-quality chocolate for the best taste; while semi-sweet is standard, dark chocolate can add a deeper flavor profile. Just adjust the sweetness in the peanut butter to compensate for the darker notes.
Storing and Enjoying Your Mini Bites
Once your Homemade Reese’s Cups Mini Bites are fully set, storing them correctly will keep them delicious for weeks. I like to store them in an airtight container in the refrigerator, which helps maintain their texture. They can last for about two weeks this way. If you want to keep them longer, freezing is a great option; place the mini bites in a single layer on a baking sheet, freeze them until hard, then transfer them to a freezer-safe bag.
For serving, these mini bites can be delightful additions to dessert platters or enjoyed as a midday snack. To elevate the presentation, consider drizzling melted white chocolate on top after they've set for an attractive look. You can also experiment with different types of chocolate coatings, such as dark chocolate or even flavored chocolates, to personalize these treats even further.
Ingredients
Ingredients
- 1 cup creamy peanut butter
- 1/2 cup powdered sugar
- 1 teaspoon vanilla extract
- 1 cup milk chocolate chips
- 1 cup semi-sweet chocolate chips
- Mini cupcake liners
Instructions
Prepare the Peanut Butter Filling
In a bowl, mix the creamy peanut butter, powdered sugar, and vanilla extract until smooth and well combined.
Melt the Chocolate
In a microwave-safe bowl, combine the milk chocolate chips and semi-sweet chocolate chips. Microwave in 30-second intervals, stirring in between, until fully melted and smooth.
Mold the Chocolate Cups
Line a mini muffin tin with cupcake liners. Spoon a small amount of melted chocolate into each liner, spreading it evenly along the bottom. Place the tin in the freezer for 10 minutes to set.
Add the Peanut Butter Filling
Once the chocolate has set, add a small dollop of the peanut butter filling on top of the chocolate layer in each liner.
Top with More Chocolate
Cover the peanut butter filling with more melted chocolate, ensuring the filling is completely sealed. Return to the freezer for another 10 minutes to firm up.
Serve
Once set, remove the mini bites from the muffin tin and enjoy your Homemade Reese’s Cups Mini Bites!
Pro Tips
- For a little extra flair, sprinkle some sea salt on top of the chocolate before it sets. This adds a delightful contrast to the sweetness!
Troubleshooting Chocolate Issues
If your chocolate is too thick when trying to cover the peanut butter filling, this can often happen if it has cooled too much. Simply return it to the microwave in short bursts of 10 seconds to re-melt it slightly until it reaches a pourable consistency. Conversely, if it’s too thin and doesn’t provide a good coating, it might be good to add a little more chocolate or a small amount of cocoa powder to thicken it without losing flavor.
Another common issue is the chocolate not adhering well to the peanut butter layer when layered. This can happen if the first layer isn’t fully set. Always ensure the initial chocolate base is completely hardened before adding the filling; otherwise, you might end up with a leak during the topping phase.
Experimenting with Flavors
Feel free to get creative with additional flavors in your filling. For a twist, consider adding a pinch of cinnamon or a dash of cocoa powder to the peanut butter mixture for a unique flavor that complements the chocolate beautifully. You might even consider incorporating a little maple syrup instead of powdered sugar for a lighter, more natural sweetness that adds a lovely depth of flavor.
In addition, topping variations can enhance your mini bites even more. Try sprinkling sea salt on top of the chocolate before it sets for a delightful sweet-salty contrast. Or, after cooling, you can roll them in crushed pretzels or nuts for added crunch and elegance.
Questions About Recipes
→ Can I use crunchy peanut butter?
Yes, crunchy peanut butter can be used for added texture, but keep in mind it will slightly change the consistency.
→ How do I store these mini bites?
Store them in an airtight container in the refrigerator for up to a week.
→ Can I make these ahead of time?
Absolutely! These mini bites store well and can be made a few days in advance.
→ Can I use a different type of chocolate?
Yes, feel free to use dark chocolate or even white chocolate for a different flavor profile.
Homemade Reese’s Cups Mini Bites
Created by: Maisie Clarke
Recipe Type: Wholesome Sweet Bakes
Skill Level: Easy
Final Quantity: 24 mini cups
What You'll Need
Ingredients
- 1 cup creamy peanut butter
- 1/2 cup powdered sugar
- 1 teaspoon vanilla extract
- 1 cup milk chocolate chips
- 1 cup semi-sweet chocolate chips
- Mini cupcake liners
How-To Steps
In a bowl, mix the creamy peanut butter, powdered sugar, and vanilla extract until smooth and well combined.
In a microwave-safe bowl, combine the milk chocolate chips and semi-sweet chocolate chips. Microwave in 30-second intervals, stirring in between, until fully melted and smooth.
Line a mini muffin tin with cupcake liners. Spoon a small amount of melted chocolate into each liner, spreading it evenly along the bottom. Place the tin in the freezer for 10 minutes to set.
Once the chocolate has set, add a small dollop of the peanut butter filling on top of the chocolate layer in each liner.
Cover the peanut butter filling with more melted chocolate, ensuring the filling is completely sealed. Return to the freezer for another 10 minutes to firm up.
Once set, remove the mini bites from the muffin tin and enjoy your Homemade Reese’s Cups Mini Bites!
Extra Tips
- For a little extra flair, sprinkle some sea salt on top of the chocolate before it sets. This adds a delightful contrast to the sweetness!
Nutritional Breakdown (Per Serving)
- Calories: 120 kcal
- Total Fat: 8g
- Saturated Fat: 3g
- Cholesterol: 5mg
- Sodium: 85mg
- Total Carbohydrates: 10g
- Dietary Fiber: 1g
- Sugars: 8g
- Protein: 3g